The public folder is the leading and trusted attribute provided by the Microsoft Exchange Server. It is utilized for sharing the data among groups, communication, etc. Normally, for the team of an organization, it works as a central data repository. However, it has been used for a long time by various companies and businesses because of advanced features. The folder is accessible to everyone on the network who operates the same email client on the Microsoft Exchange.
But, it is difficult to control a large amount of data. That’s why people wish to export public folders to Office 365. Public folders are precisely supported by MS Office 365. Hence, in this article, we are going to explain how to migrate public folder to Office 365.
Now, Moving towards the manual procedure to export the Public folder to Office 365.
Contents
How to Migrate Public Folders to Office 365 Manually?
Following are the described steps required to export the public folder into an Office 365 account.
1.First, download the Migration Script and all scripts in a folder. Then, move to the next step.
2.Keep your Local Exchange Server Ready:
● Connect your domain to your localhost.
● You need to give another name to public folders that have a backslash “\”.
● Now, confirm the success of the migration process.
3.In this step, open the Office 365 account and examine the existing conversion requests.
4.Generate Migration files.
5.Generate Public Folder Mailboxes.
6.Now, you can start the conversion process:
● Open the Exchange Shell to the local Exchange Server.
● Then, enter the login credentials and go to the Office 365 PowerShell.
● Finally, start the process to migrate the public folder to Office 365.
7.In this step, Lock Access to the Old Public Folders
8.Close the Process.
Limitations/Drawbacks of Manual Method
- Difficult to use for non-technical users.
- It is time-consuming.
- Only one email can migrate at a time.
After knowing the manual procedure, let’s move to the professional method for the migration process.
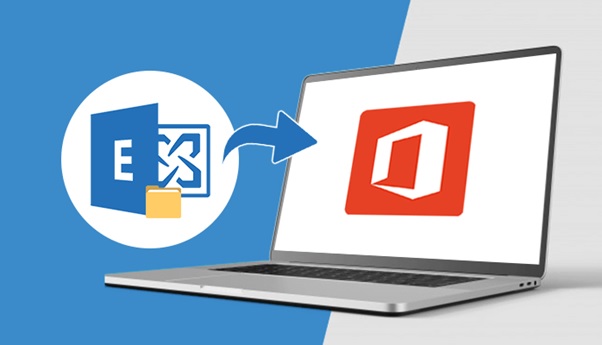
An Automated Method to Migrate Public Folder to Office 365
You can migrate public folders to Office 365 manually. But, it has some drawbacks as it takes more time and requires high technical skills to process the complex scripts. If users have a large number of files, then there will be a problem in migrating. That’s why users require a simple and user-friendly method. Here, Exchange EDB to PST is considered as the best solution. It can easily migrate public folders to Office 365 accounts. Besides, there are many magnificent features embedded in this tool.
Features:
- Non-technical users can use this tool easily.
- Multiple Emails can export at a time.
- The tool is compatible with almost every version of Windows OS.
After recognizing the various methods for conversion, we will now move to the summary of the above-discussed blog.
Final Words
In this blog, we have described the step-by-step procedure to Migrate Public Folder to Office 365. The manual method for performing conversion of public folders to Office 365 seems quite lengthy and complex. Therefore, we would like to recommend you to utilize the automated method. The automated approach is really a very effective and simple solution.